 Skip to content
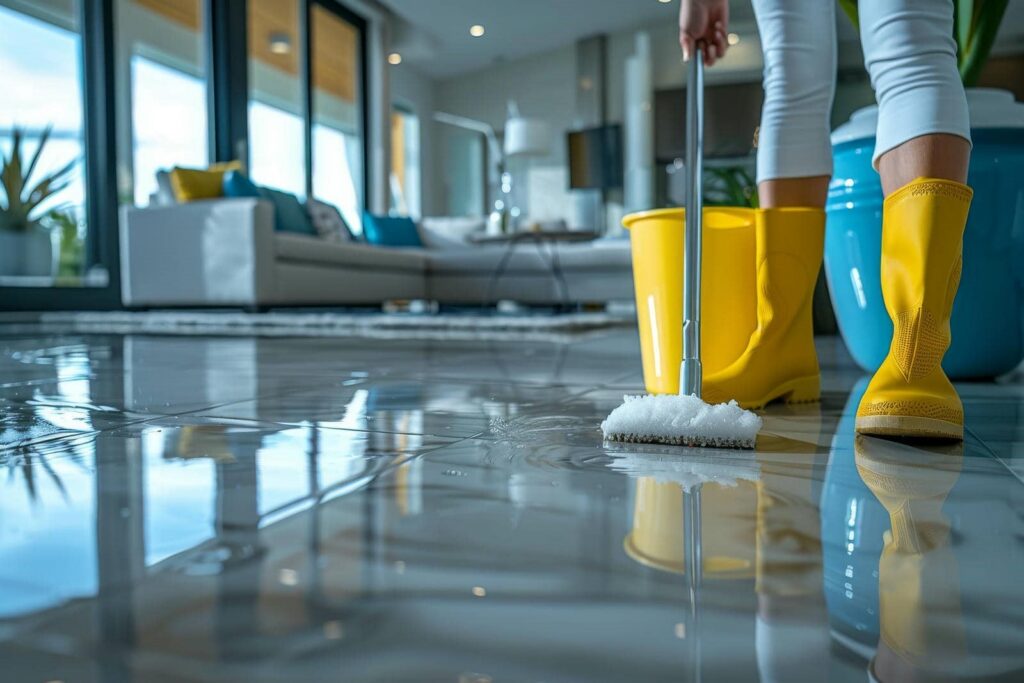
When dealing with moisture issues, it’s vital to embrace the art of structural drying. You might not realize how important moisture analysis and proper equipment are to your success. By understanding the interplay between airflow, temperature control, and humidity management, you can greatly enhance the drying process. Discovering the right techniques and tools can make all the difference, especially when it comes to preventing long-term damage and mold growth. What’s next in this process?
Key Takeaways
- Conduct thorough moisture analysis to identify damaged areas and tailor drying strategies effectively.
- Employ a combination of dehumidifiers and air movers to enhance airflow and accelerate moisture removal.
- Monitor humidity levels consistently to assess drying progress and make necessary adjustments.
- Control temperature to increase evaporation rates and prevent mold growth during the drying process.
- Utilize targeted drying techniques for hidden moisture in walls, floors, and ceilings to ensure comprehensive results.
Key Steps in the Structural Drying Process
When you encounter water damage, understanding the key steps in the structural drying process is essential for effective restoration.
Begin with moisture analysis to assess the extent of the damage. This critical step helps you identify moisture levels in various materials, guaranteeing a targeted drying approach.
Next, implement appropriate drying techniques based on your findings. Use dehumidifiers and air movers strategically to enhance airflow and reduce humidity levels.
Monitor the drying progress regularly to confirm that moisture content is decreasing. This methodical approach not only speeds up the drying process but also minimizes the risk of mold growth.
What You Should Know About Structural Drying
Understanding structural drying is essential for effective water damage restoration, as it involves specific techniques and equipment designed to remove moisture efficiently.
You should know that structural drying isn’t just about drying surfaces; it’s an all-encompassing process that targets hidden moisture within walls, floors, and ceilings.
Utilizing methods like dehumidification and air circulation, you can greatly enhance moisture removal. Monitoring humidity levels is important, as it helps you assess progress and adjust your strategy accordingly.
Remember, the goal is to reach a moisture content that prevents mold growth and structural damage.
Essential Equipment for Successful Structural Drying
Effective structural drying relies on specialized equipment that enhances moisture removal and accelerates the drying process.
To achieve optimal results, you’ll need to utilize various dehumidifier types, including low-grain, refrigerant, and desiccant models. Each type targets specific humidity levels and environmental conditions, ensuring efficient moisture extraction.
Air movers are equally vital in this process; they create airflow that facilitates evaporation, helping to distribute air evenly across surfaces.
When selecting equipment, consider the size of the affected area and the extent of moisture damage. A combination of high-performance dehumidifiers and strategically placed air movers will greatly improve your drying efficiency.
How Air Movement Speeds Up Drying?
Air movement plays a critical role in accelerating the drying process by enhancing evaporation rates from wet surfaces. By implementing effective airflow patterns, you can greatly improve the efficiency of your drying techniques.
When air flows over damp areas, it removes moisture-laden air, replacing it with drier air, which fosters faster evaporation. Utilizing fans and dehumidifiers strategically helps create ideal airflow patterns that direct air towards wet materials, enhancing moisture removal.
Additionally, varying the direction and speed of airflow can help reach all surfaces evenly, ensuring no area remains saturated. By mastering these techniques, you not only expedite the drying process but also promote a healthier environment, ultimately strengthening your skills in structural drying.
Why Controlling Temperature Matters in Drying?
While you may focus on airflow and humidity, controlling temperature is equally essential in the drying process.
Temperature fluctuations can greatly impact drying efficiency, so maintaining a stable environment is vital.
Here are three reasons why temperature control matters:
Enhanced Evaporation Rates: Higher temperatures increase the energy of water molecules, allowing them to evaporate more quickly.
Reduced Drying Time: Consistent temperatures minimize the risk of moisture getting trapped, accelerating the overall drying time.
Prevention of Mold Growth: Maintaining ideal temperatures helps inhibit mold and mildew development, ensuring a safer environment.
Tools for Monitoring Moisture Levels
Monitoring moisture levels during the drying process is vital for achieving ideal results. To effectively measure moisture content, you’ll want to utilize moisture meters and humidity sensors.
Moisture meters provide accurate readings of moisture levels within materials, allowing you to identify areas that need further drying. Using these devices helps you track progress and make informed decisions on when to adjust drying equipment.
Humidity sensors, on the other hand, monitor the ambient moisture in the air. This data is essential for evaluating how efficiently your drying process is working.
Preventing Mold Growth During the Drying Process
To prevent mold growth during the drying process, it’s crucial to maintain ideal conditions in the affected areas.
Implementing effective mold prevention strategies can greatly reduce the risk of contamination. Here are three critical humidity control techniques:
Monitor Humidity Levels: Use hygrometers to keep humidity below 60%, as mold thrives in higher moisture conditions.
Increase Air Circulation: Utilize fans and dehumidifiers** to promote airflow and expedite drying while lowering humidity.
Seal Off Contaminated Areas: Isolate affected spaces to prevent mold spores from spreading to unaffected zones, ensuring a focused drying effort.
Frequently Asked Questions
How Long Does Structural Drying Typically Take?
Structural drying typically takes 3 to 7 days, depending on the drying duration needed for moisture removal. Factors like the extent of water damage and environmental conditions can influence this timeline considerably.
Can Structural Drying Be Done DIY?
Yes, you can tackle structural drying DIY, but proper equipment selection is essential. Use dehumidifiers and fans effectively, and always monitor moisture levels to guarantee thorough drying. It’s a meticulous process requiring attention to detail.
What Factors Affect Drying Time?
Drying time’s considerably influenced by moisture levels and air circulation; for instance, reducing moisture by 20% can cut drying time in half. Guarantee ideal airflow and monitor humidity for efficient results in your drying process.
Is Structural Drying Safe for Pets?
Yes, structural drying can be safe for pets if you manage drying equipment properly. Guarantee they’re kept away from the area, and monitor conditions, as excessive noise or heat may affect their comfort and safety.
How Can I Prepare My Home for Drying?
To prepare your home for drying, remove furniture and belongings from affected areas. Did you know that 98% of basements experience water damage? Make certain drying equipment is strategically placed for ideal air circulation and moisture removal.
Final Thoughts
In the intricate dance of structural drying, you’re not just a bystander; you’re the conductor. By harnessing the power of moisture analysis, strategic airflow, and precise temperature control, you orchestrate a symphony that guarantees swift, effective drying. Equip yourself with the right tools, and keep a vigilant eye on humidity levels to prevent the insidious creep of mold. As you navigate this process, remember: each step you take is a note in the melody of restoration, harmonizing your efforts for success.